01 What this workflow gets you
The strength of 3D Gaussian Splatting (3DGS) is that once a space is scanned, you can freely create new viewpoints afterward. Using that, just by walking through and capturing a location, you can build an aerial angle — an “aerial shot” — with no drone or special equipment.
This article walks through the basics of building an aerial shot from 3DGS, and then the advanced technique of adding people and motion, using the actual production material at each step.
02 What you'll need
- Spatial scan / 3DGS
- XGRIDS PortalCam (walking scan) / reconstructed to 3DGS with Lixel CyberColor (LCC Studio)
- 3D, camera & render
- Cinema 4D / Octane Render / tracking source footage
- Background touch-up
- Nano Banana (fixing artifacts) / Photoshop (adding smoke, etc.)
- Advanced (generating people & motion)
- Higgsfield (element management) / Seedance 2 (shot generation) / After Effects (finishing)
STEP 1 Walking scan with PortalCam → 3DGS reconstruction
First, walk the location with an XGRIDS PortalCam and reconstruct it as 3DGS with Lixel CyberColor (LCC Studio). No drone or special equipment needed, and the bar for permissions and weather is much lower. This 3DGS space becomes the “stage” for the aerial shot.
STEP 2 Source footage → camera tracking in C4D
Prepare footage to serve as the foundation for the aerial shot's camera move (stock footage, in this case), then track it in Cinema 4D. Transplant the tracked motion onto a 3D camera to create a camera that moves through the 3DGS space at an aerial angle. This is where the aerial camera work gets locked in.
STEP 3 Render the 3DGS scene in Octane → aerial shot
Render the 3DGS space through the camera you just built, in C4D / Octane. This turns a location captured on foot into an “aerial shot” from above. Angles you couldn't fly to, or heights you couldn't reach, can be built after the fact from the on-location data.
At the same time, this render also places a dummy human model. This becomes the “motion guide” used later in the advanced (generation) step — its role is explained in advanced step ①.
STEP 4 Fix and touch up the background → final aerial plate
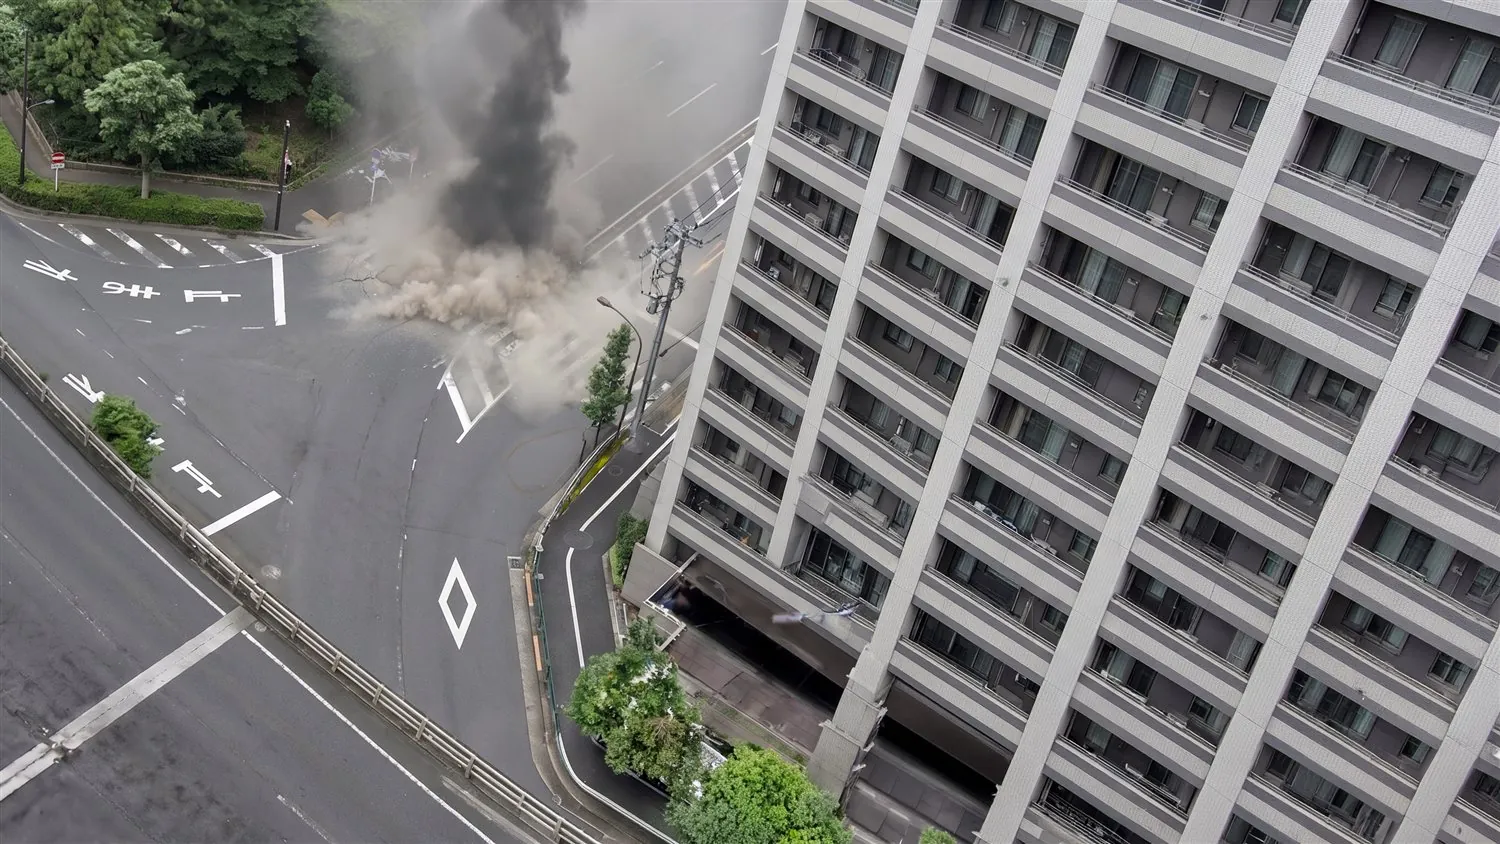
Walking-scan 3DGS has a known weakness: distant buildings, frame edges and fine detail tend to break down. We fix that with Nano Banana, then add touches like smoke in Photoshop to finish the aerial plate.
Advanced Generating and finishing people and motion
From here on it's the advanced technique. Using the aerial shot from the basic pipeline as a “blueprint,” we add photorealistic people and motion with AI video generation (Higgsfield / Seedance 2). Because the basic aerial shot already exists, we can force the generative AI to strictly respect the composition, camera work and pose.
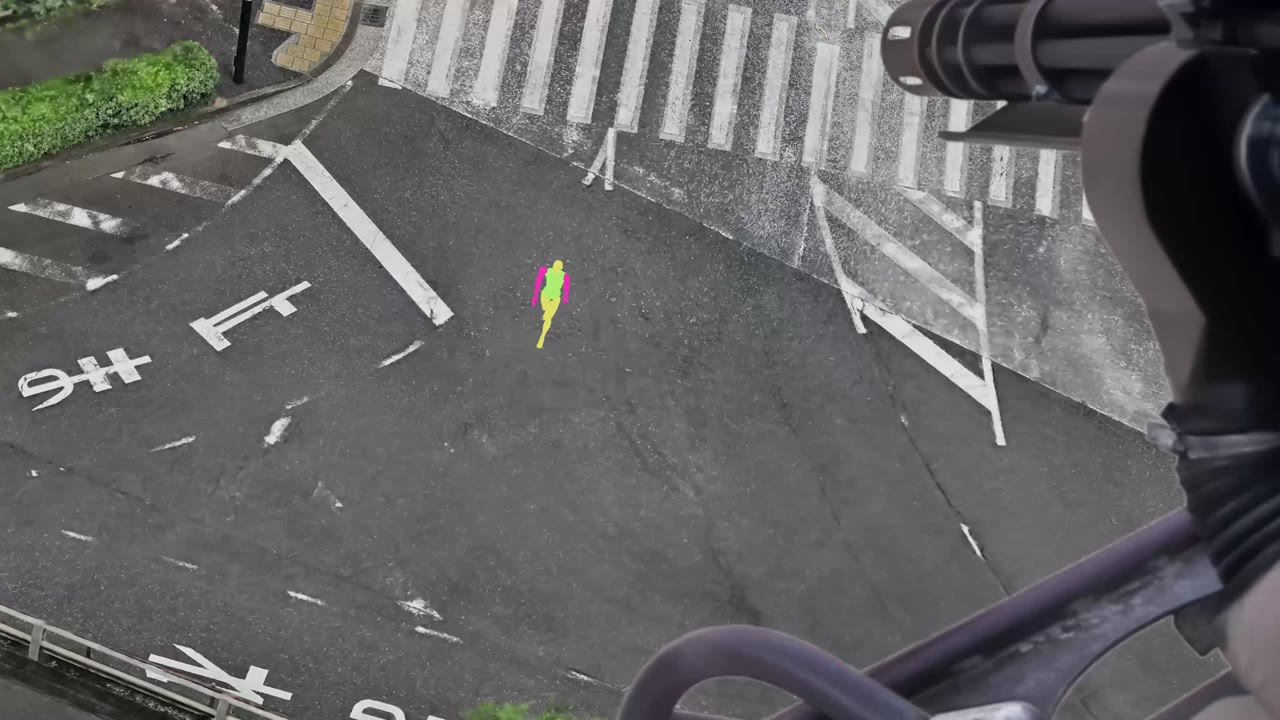
① Building a “motion guide” with color-coded dummies
The dummy model placed in STEP 3 is color-coded by body part. This makes it easier for the generative AI to recognize “which part is the head, arm, torso,” letting it accurately trace pose and hand movement. The STEP 3 render video becomes, as-is, the guide for both camera work and human motion.
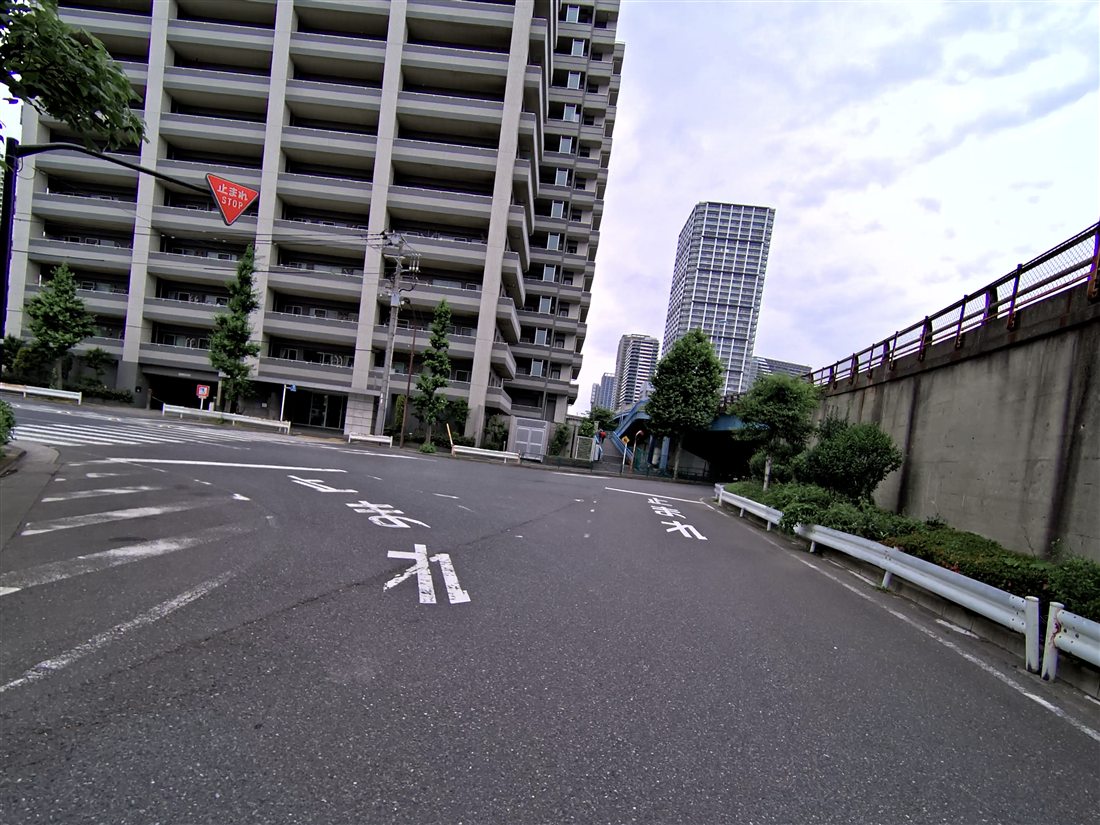
② Extracting reference material from the PortalCam data
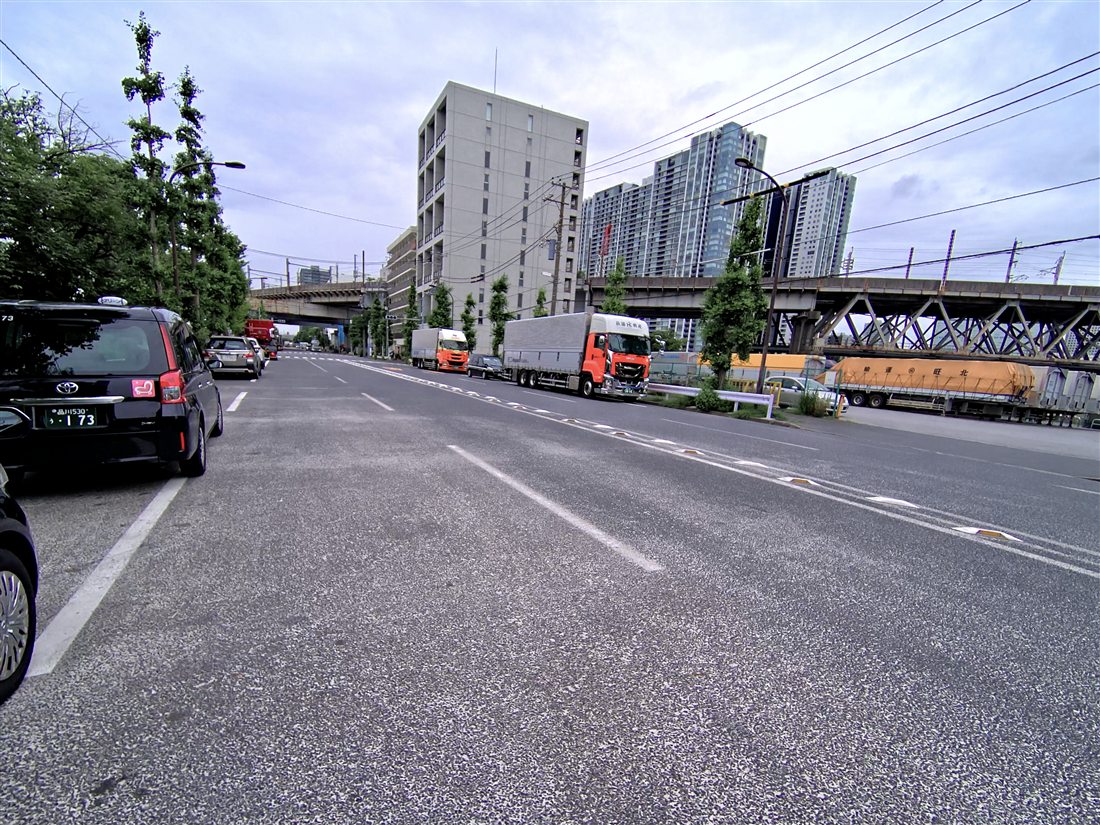
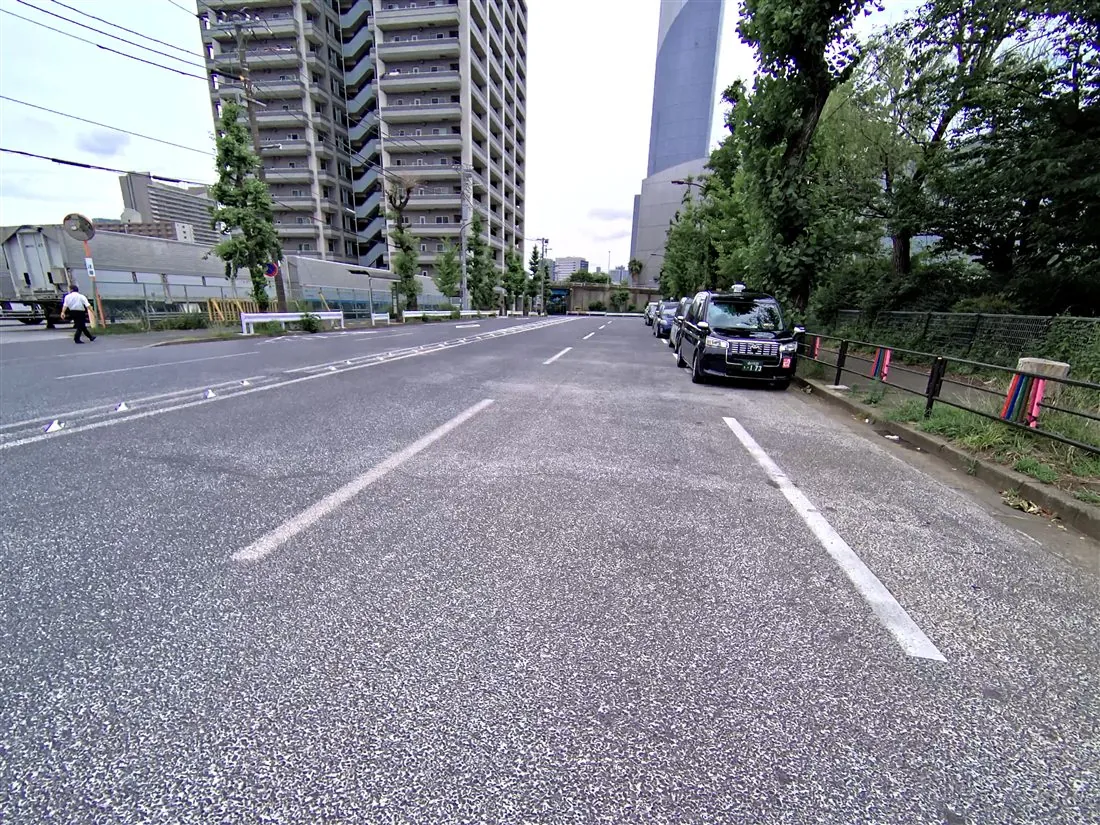
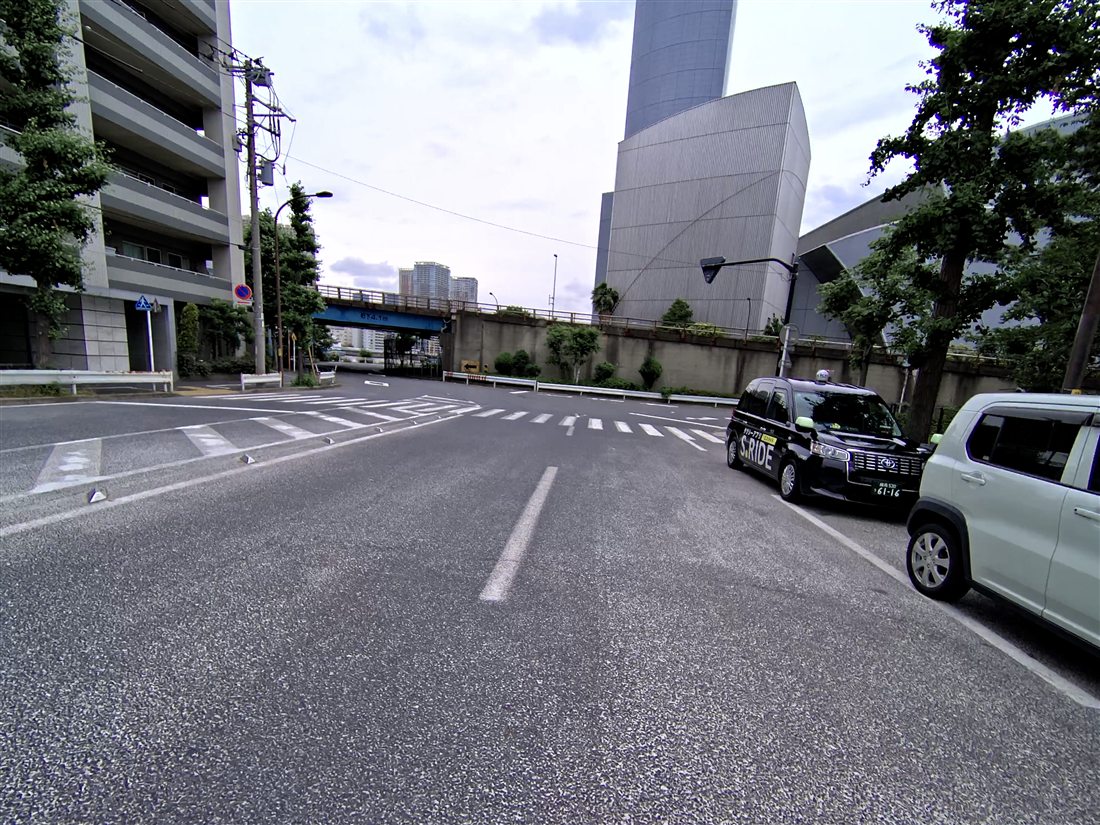
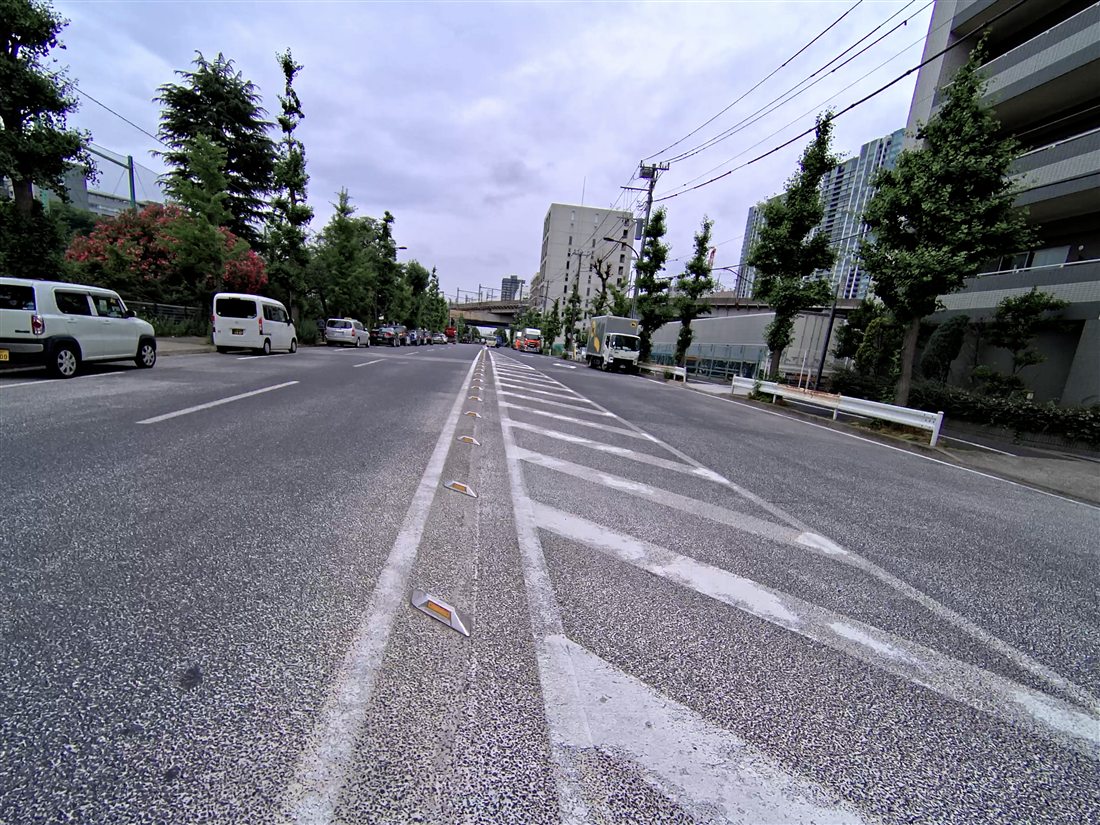
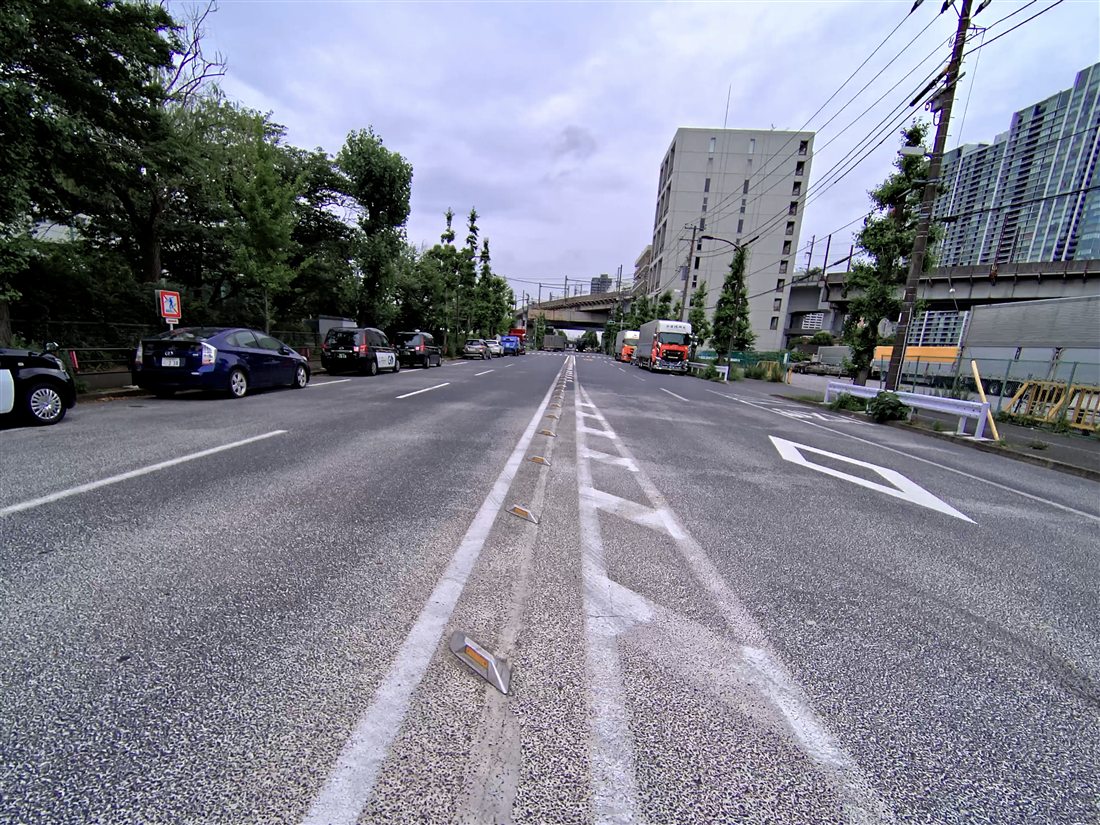
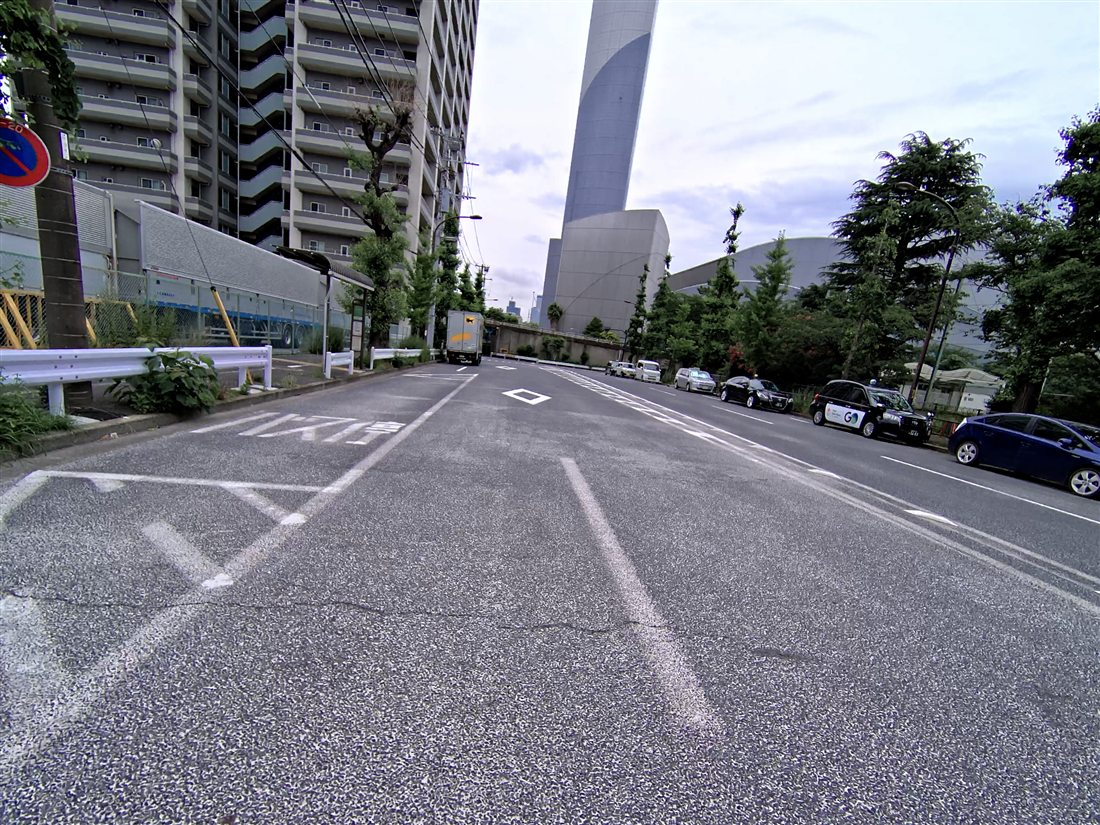
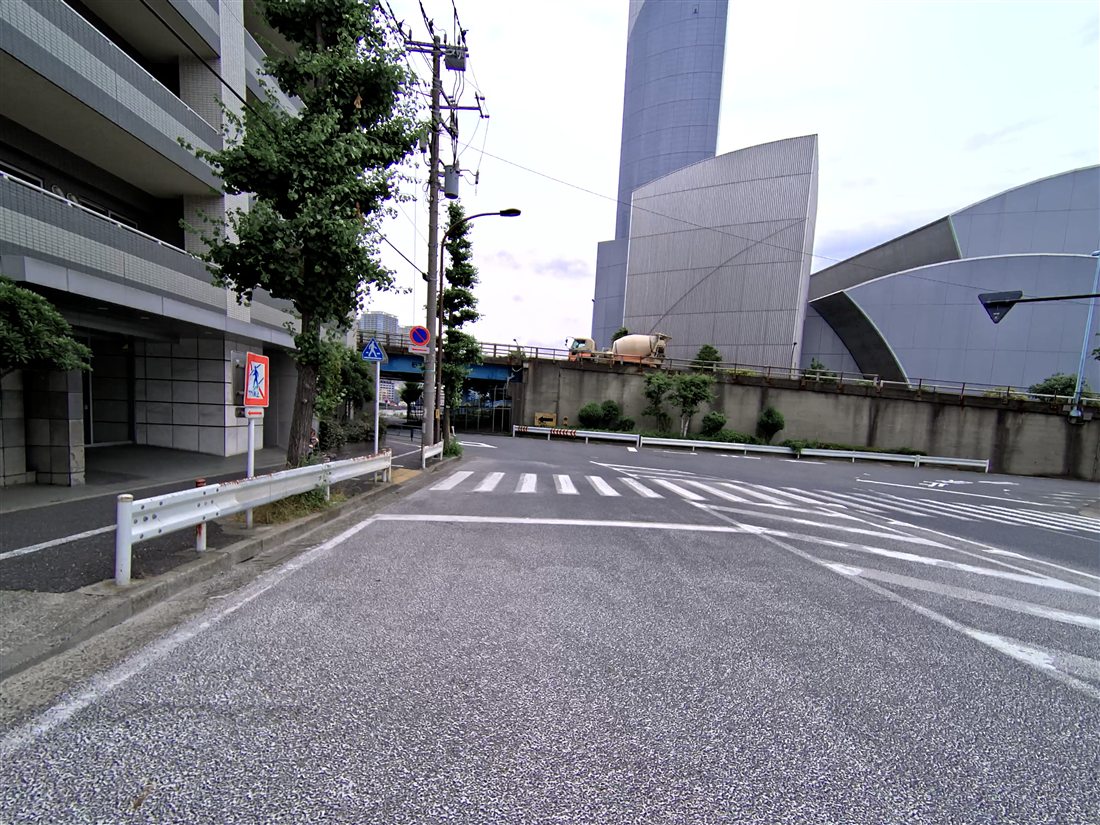
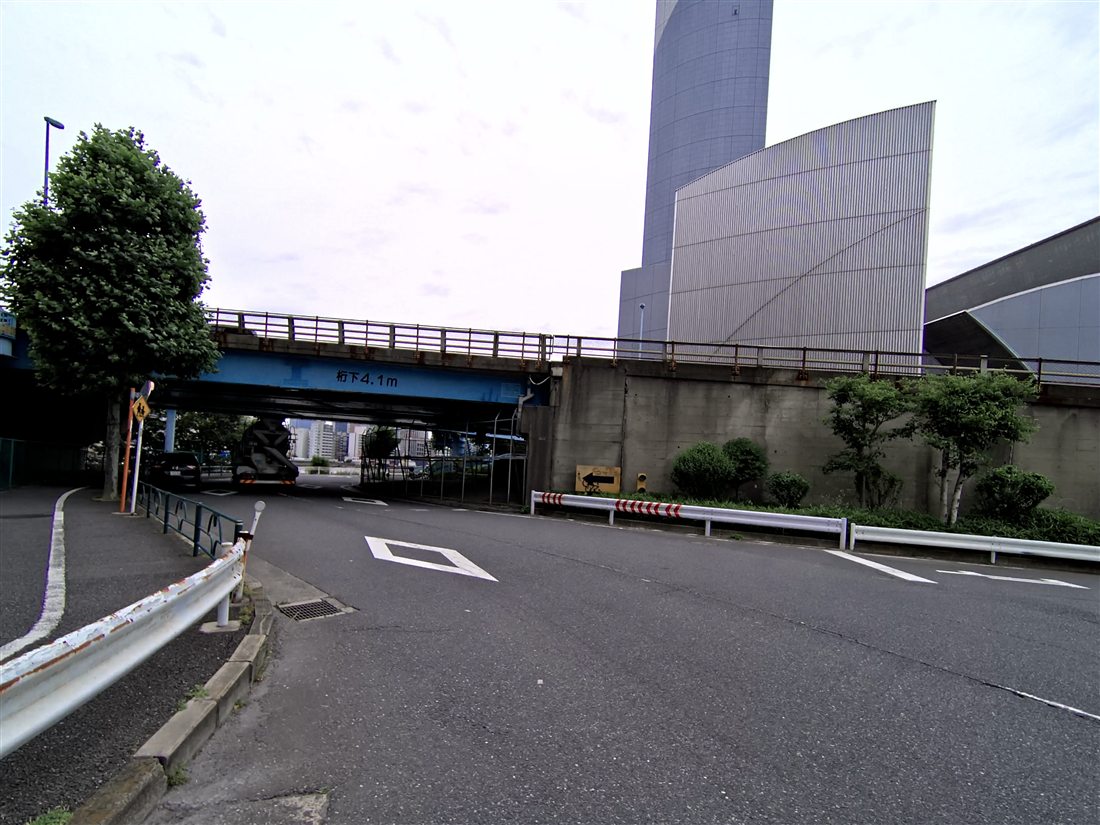
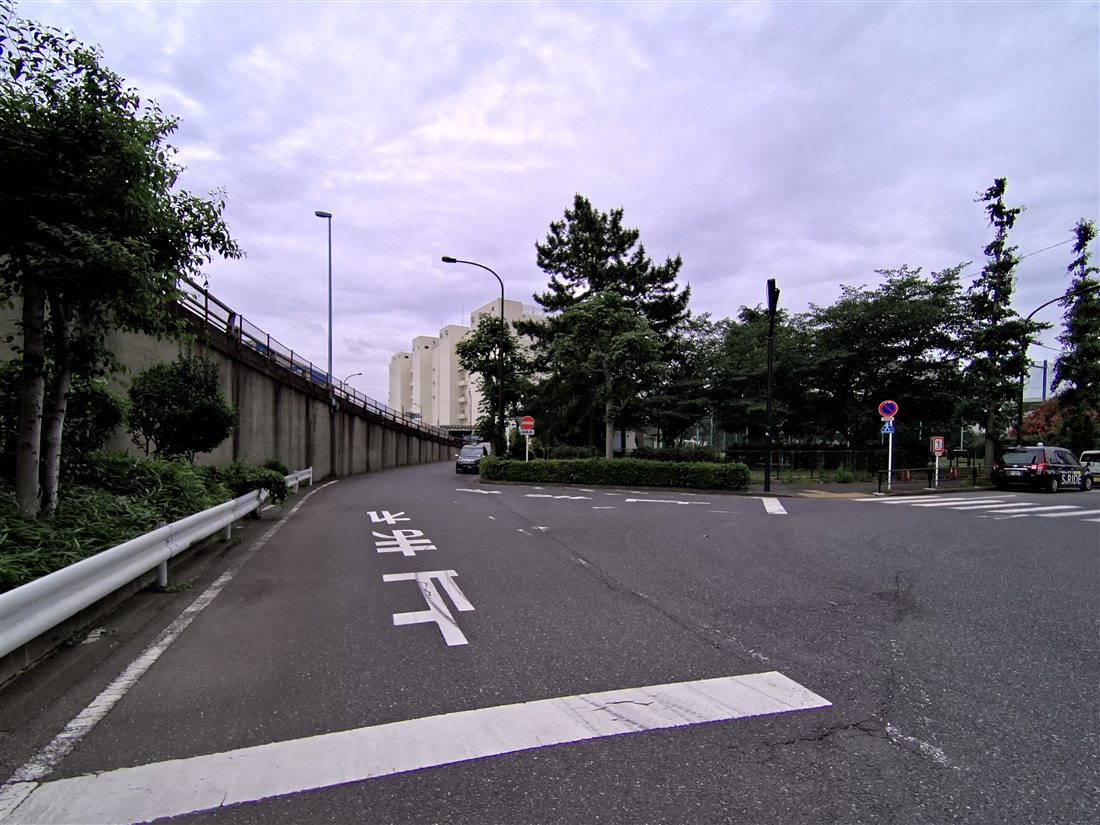
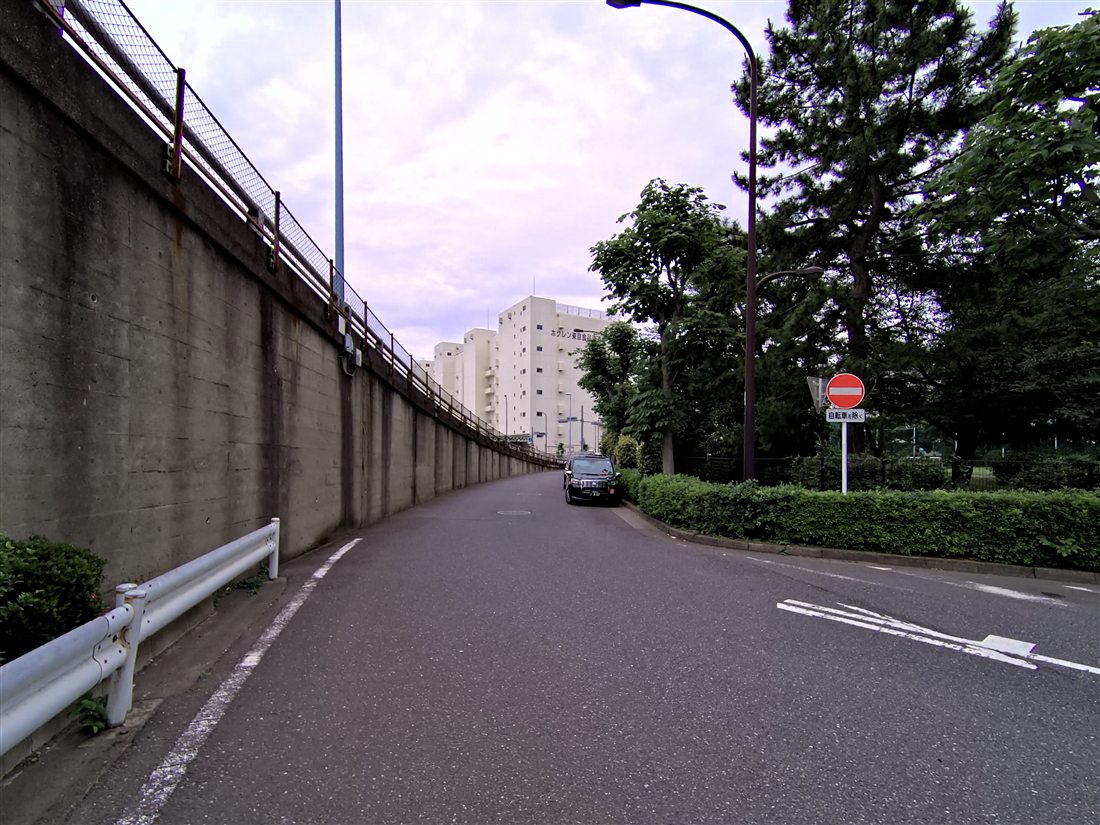
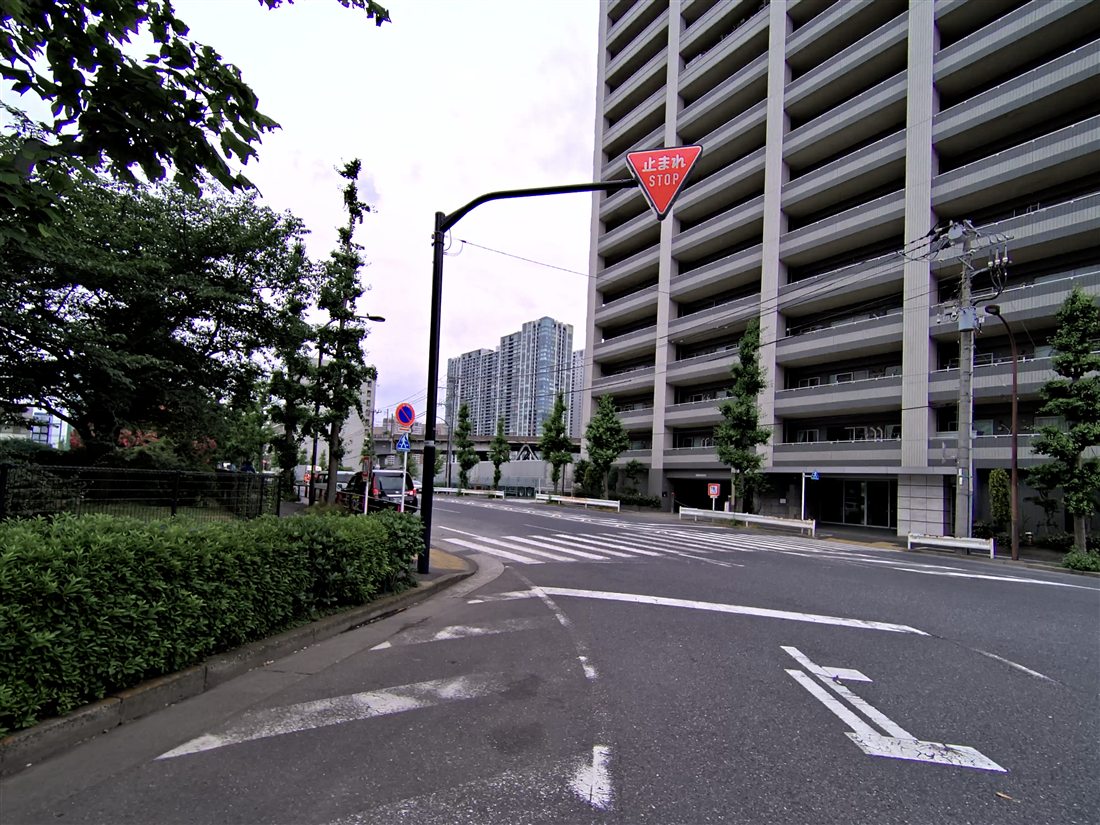
To create the element (next, in step ③), prepare reference images of the location. These are real photos pulled from PortalCam's own capture data — material that hands over the location's road markings, curbs, buildings and sky as they actually look.
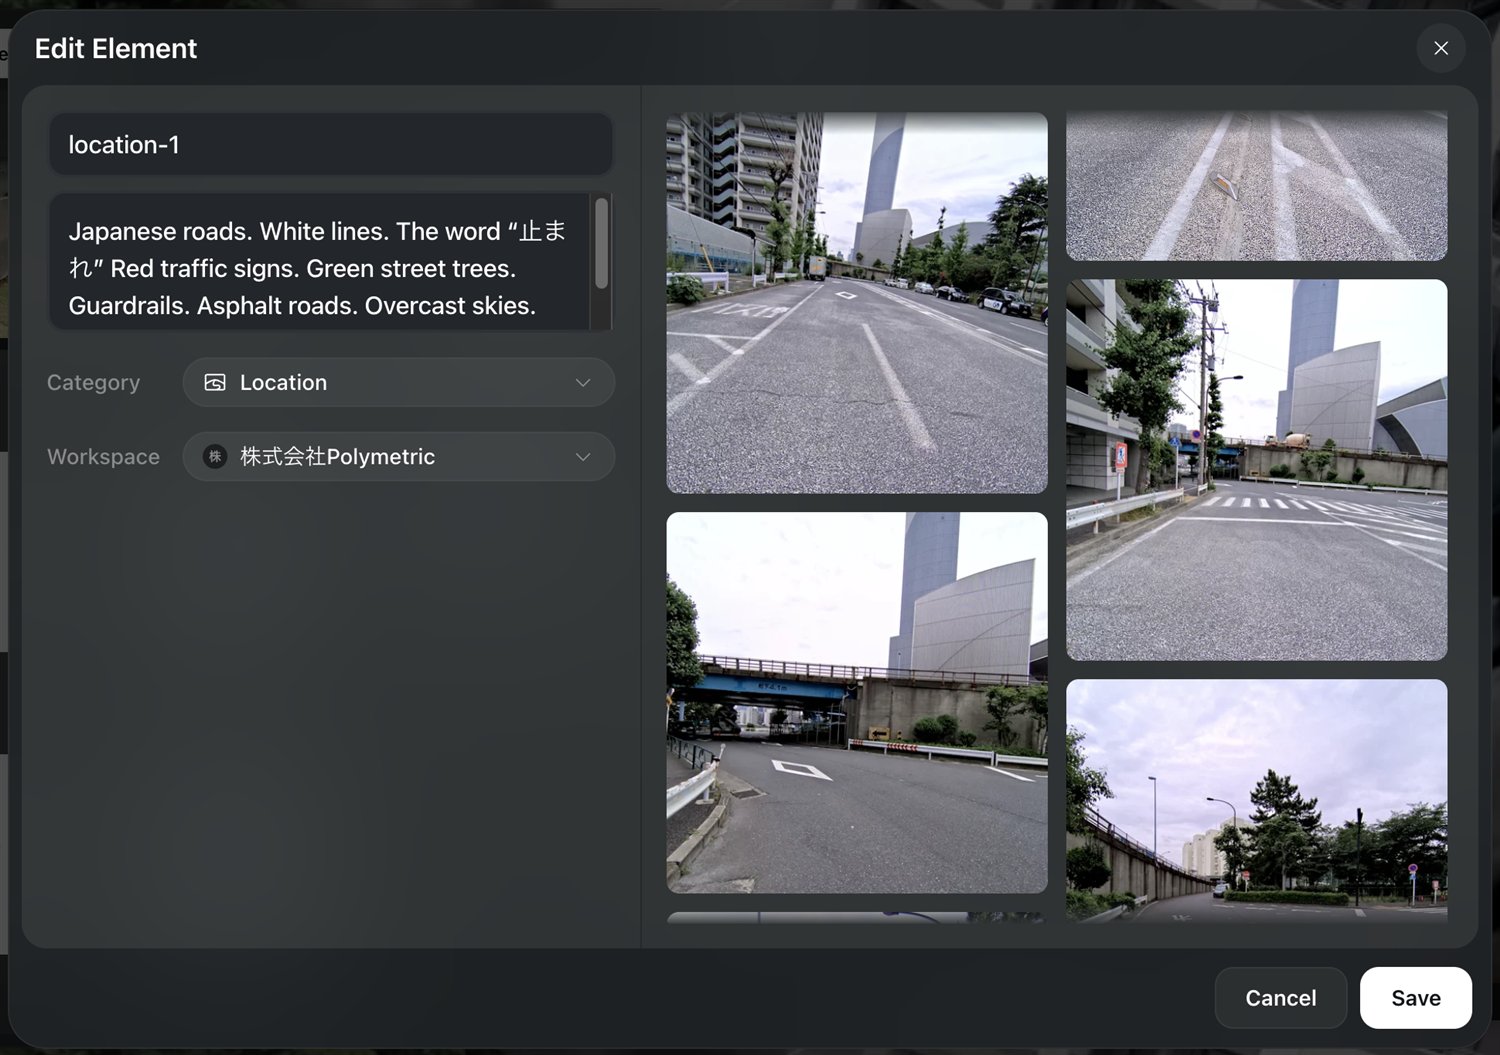
③ Creating an element in Higgsfield
Register a reusable “location” or “character” using Higgsfield's element feature. Upload the reference material from step ②, and supplement it with a text description of the location's features. Once it's an element, you can call up the same location for any number of shots.
④ Generating the shot with Seedance 2
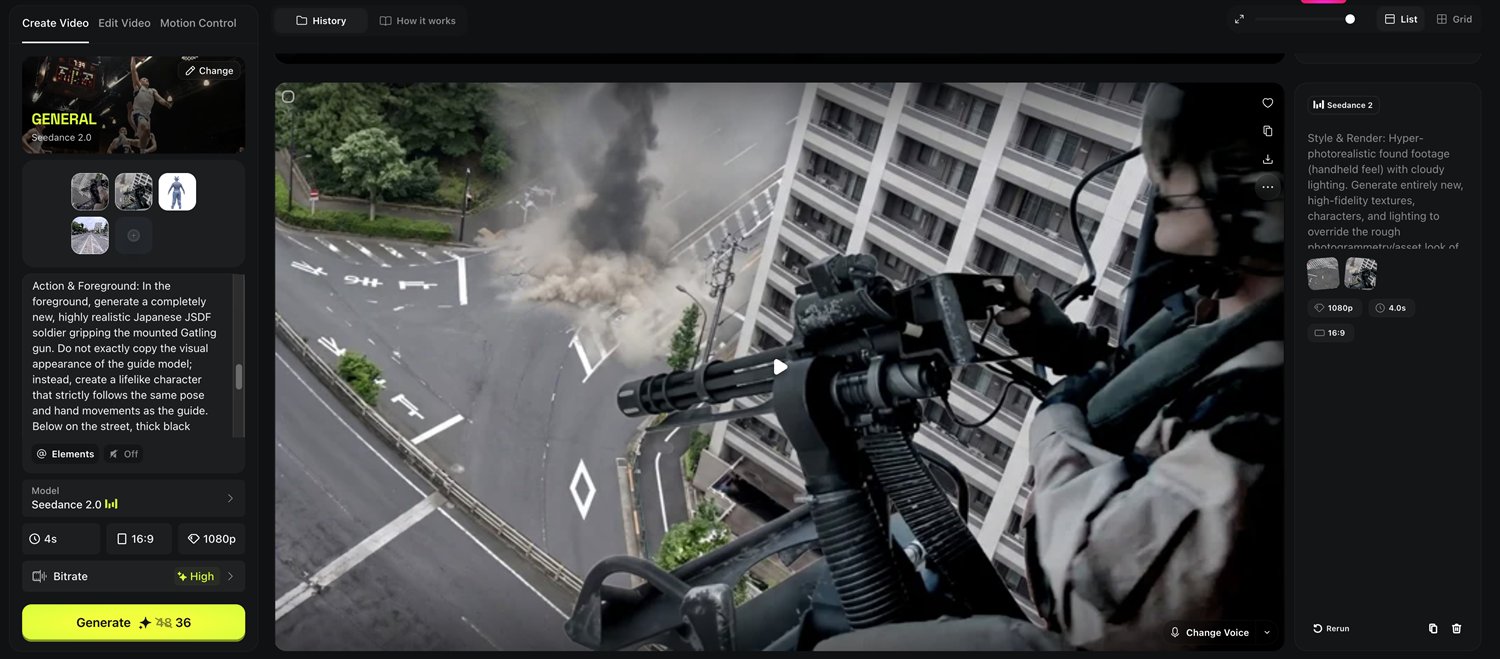
In Seedance 2 (on Higgsfield), generate the shot so it traces the STEP 3 guide video. Three things go in:
- The guide video (the Octane render with the color-coded dummy) = camera work and human motion
- The aerial plate (STEP 4) = the clean background look
- The element (③) = the look and feel of the location and character
In the prompt, instruct it to “not copy the dummy's appearance — strictly follow only its pose and hand movement, and generate a new photorealistic person.” That way you inherit only the accuracy of the motion, not the dummy's look.
⑤ Finishing in After Effects
Bring the generated shot into After Effects and finish the final comp with color grading, compositing, and smoke/effects adjustments. The finished video at the top of this article is the result.
03 Summary
The key point: an “aerial shot” can be built from 3DGS alone. Just by walking through and scanning a location, you get a drone-free aerial angle.
When you want to add people or motion on top of that, treat the 3DGS aerial shot as a “blueprint” and layer generative AI on as the advanced step. Composition, camera work and pose are guaranteed by 3DGS, and AI fills in the look — building “shots you can't capture” and “places you can't fly to” after the fact from on-location data. That's the core of Locahun 3D's 3DGS workflow.